Unity2022(Windows版)の推奨インストール手順です。
この記事は、お使いのパソコンに初めてUnityをインストールする場合の手順になります。
以前は、Unity IDを作成しなくてもUnityをインストールできましたが、最新バージョンではUnity ID作成は必須となります。
大まかな流れ
Unity HubをインストールするとUnityのバージョン管理が楽になるため、まずはUnity Hubをインストールして進めていきます。
Unity IDをすでにお持ちの方は「2.Unity IDの新規作成」の項目は不要です。そのままSign Inして「3.Unityのインストール」に進んでください。
- Unity Hubのインストール
- Unity IDの新規作成(メールアドレスが必要)
- Unityのインストール(Unity Editorのインストール)
- Visual Studio Community 2019のインストール(スクリプト作成に使用するアプリ)
Unity Hubのインストール
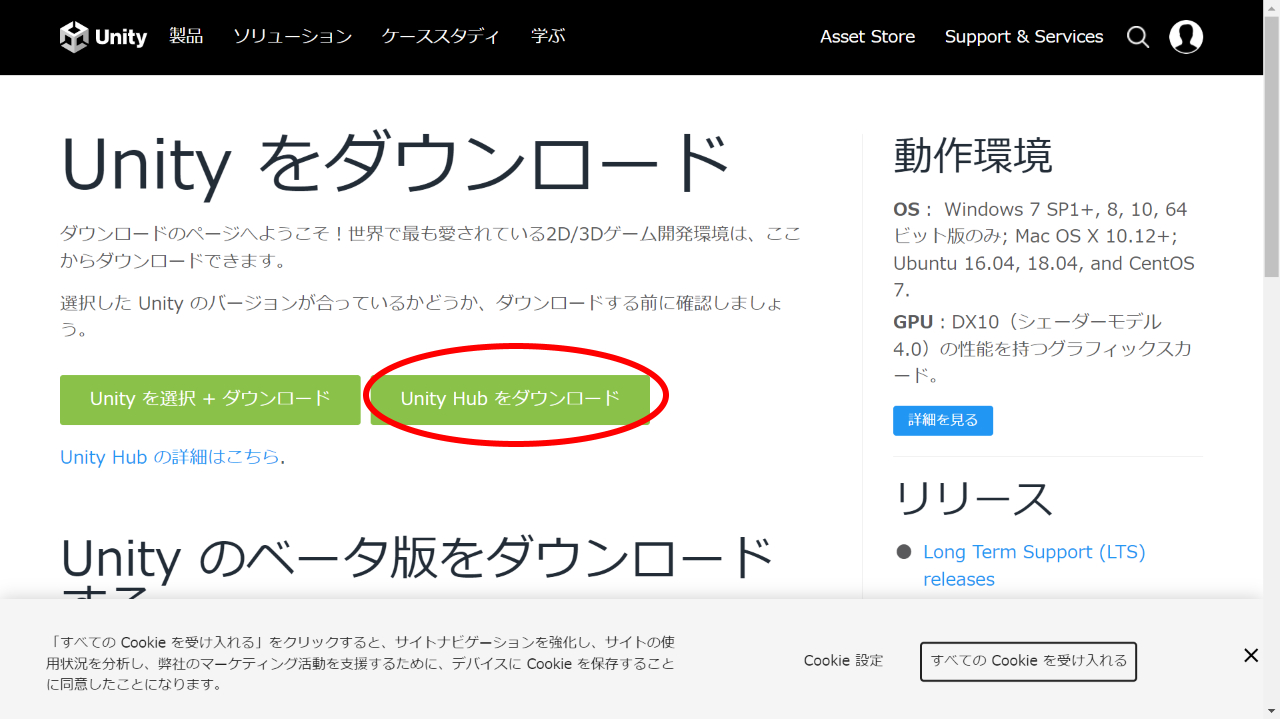
こちらにアクセスしてUnity Hubをダウンロードします。
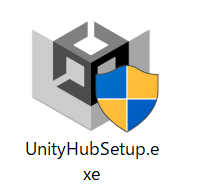
ダウンロードはすぐに完了します。
ダウンロードしたアイコンをダブルクリックします。
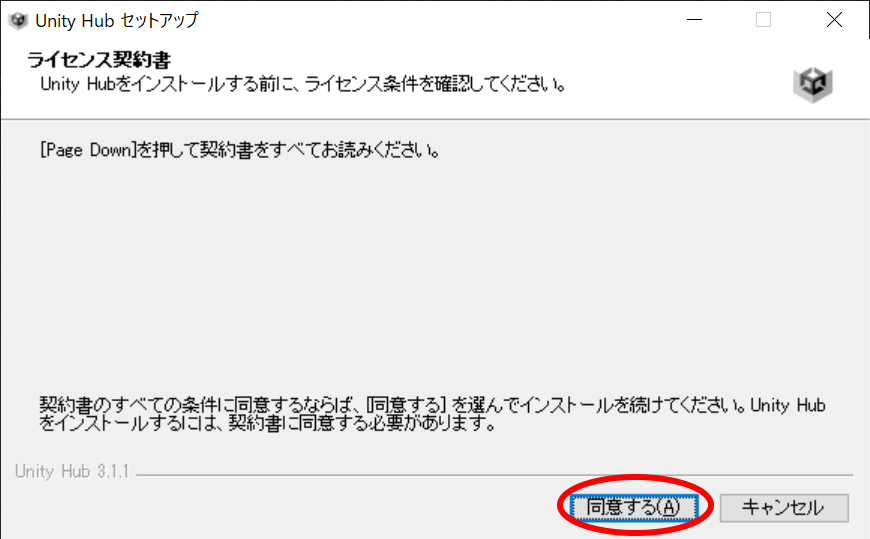
ライセンス契約書の項目です。同意するをクリックします。
特に問題なければインストール先はそのままで構いません。インストールをクリックします。

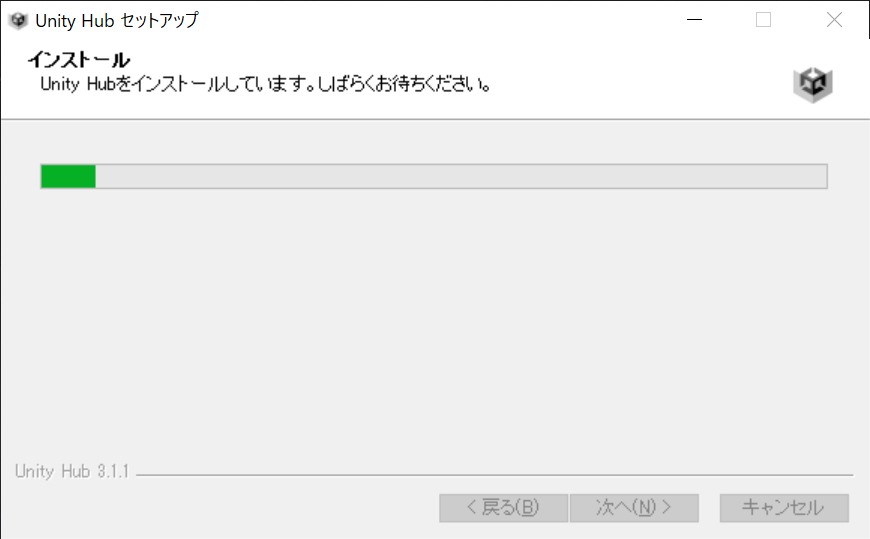
Unity Hubインストール中の画面
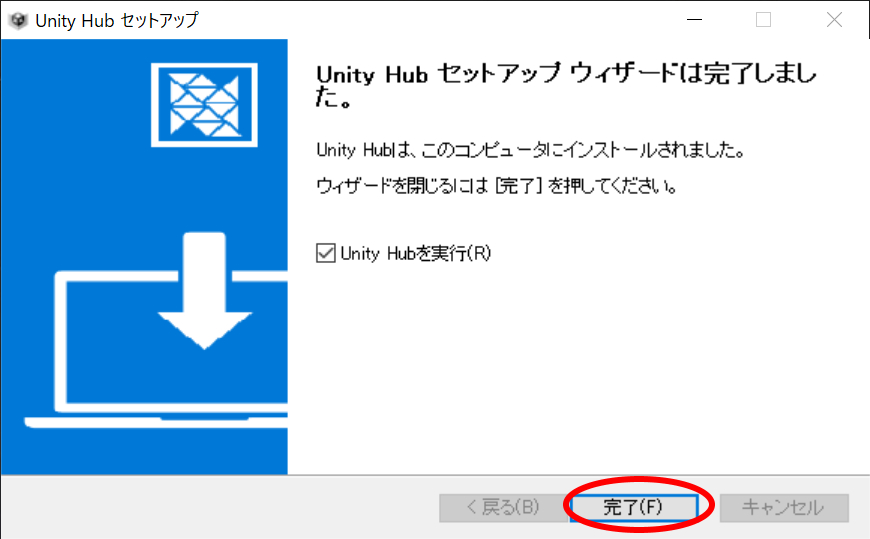
Unity Hubのインストールはすぐに終了します。完了をクリックします。
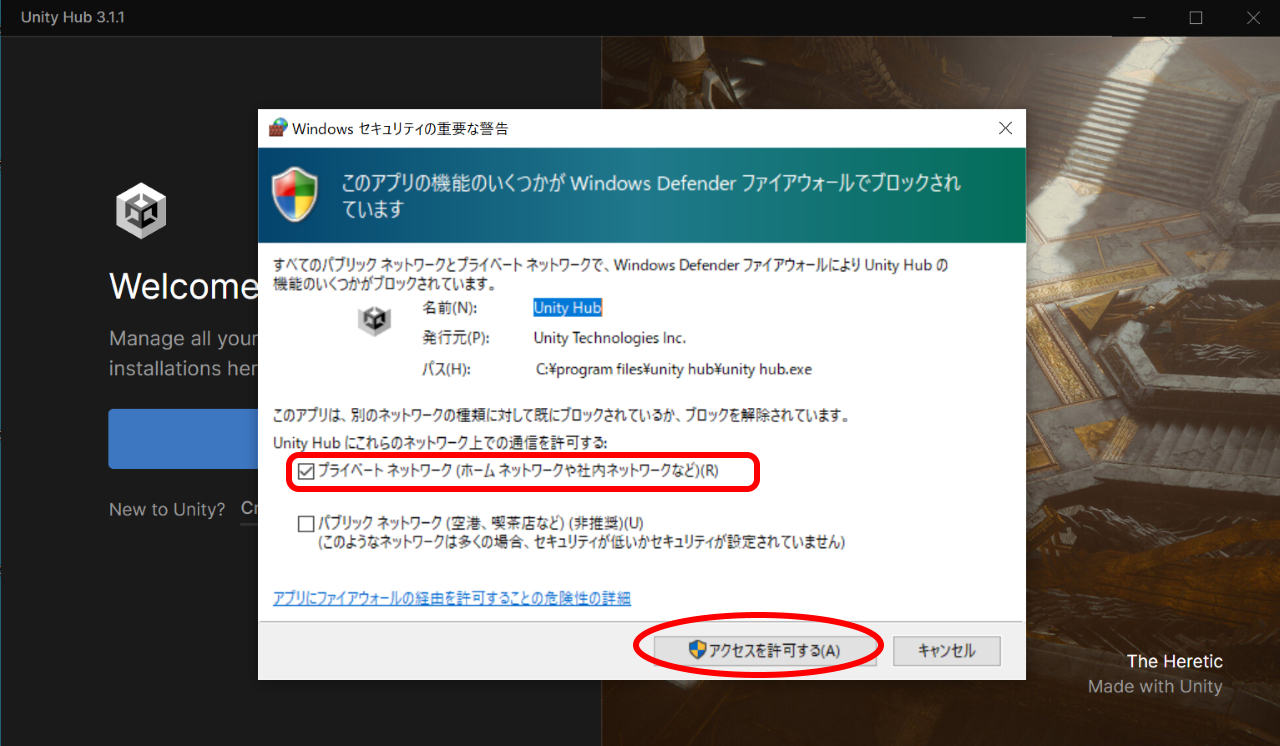
Unity Hubを初めて起動したときWindowsセキュリティの重要な警告が表示されます。
プライベートネットワークの項目にチェックを入れ、アクセスを許可するをクリックします。
Unity IDの新規作成
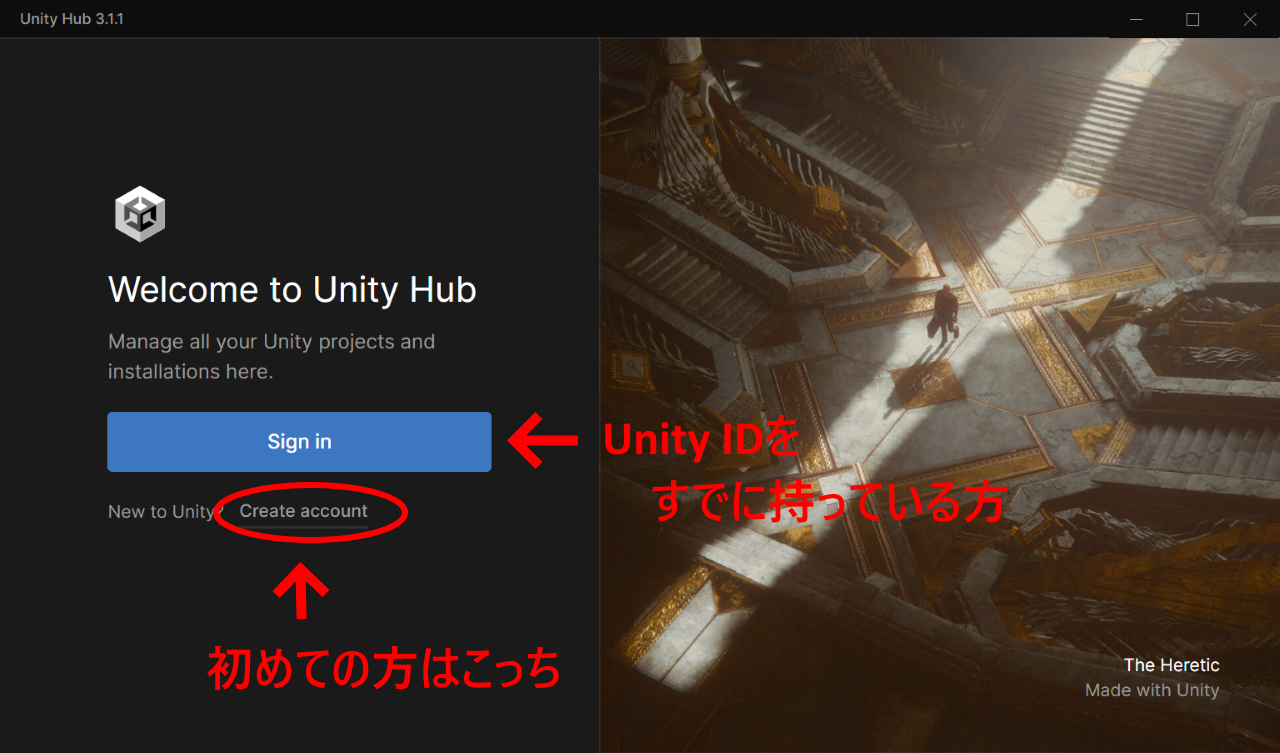
Unity IDを新規作成します。Create accountをクリックします。
すでにUnity IDをお持ちの方はSign inボタンからログインしてください。
以下はUnity IDを新規作成する場合の手順です。
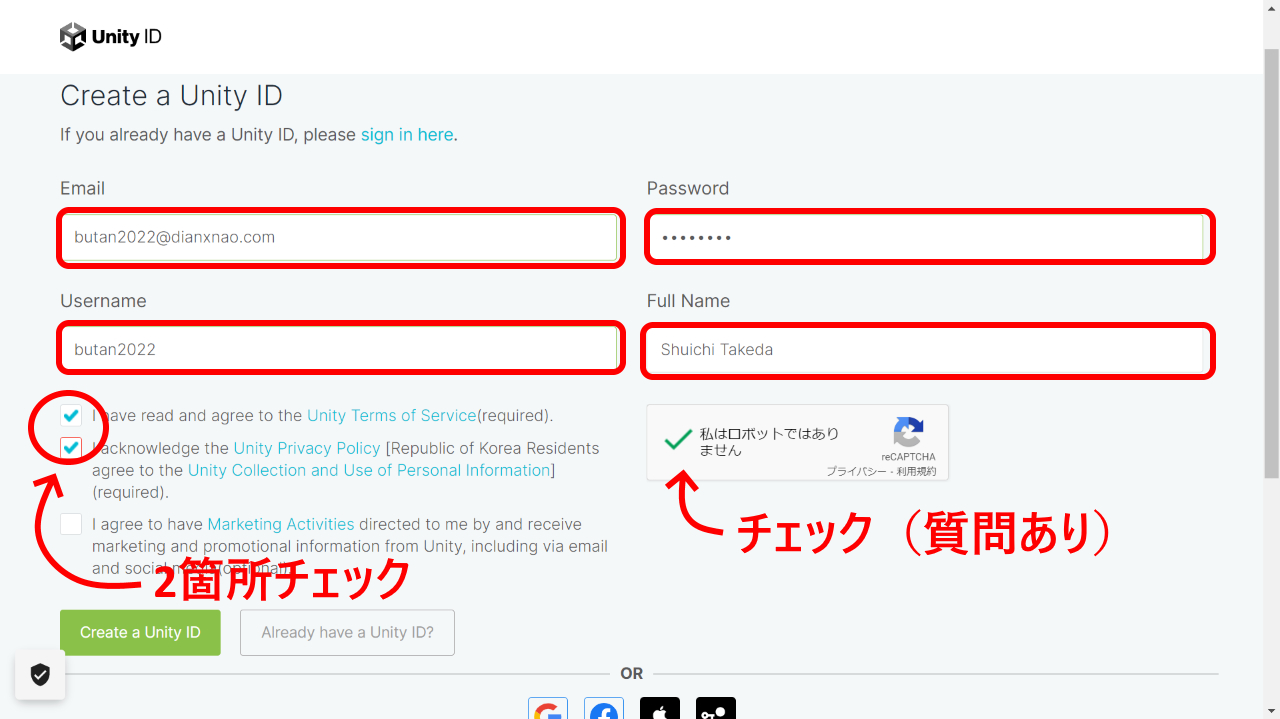
Create accountをクリック後、ブラウザが起動し以下のページが表示されます。
Email, Password, Username, Full Nameの4項目を入力します。
チェックボックスは3つありますが、上の2つにチェックを入れてください。(3つ目はメールアドレス宛にUnityからのお知らせが来るようになります)
私はロボットではありませんにもチェックします。(質問がある場合と無い場合があるようです)
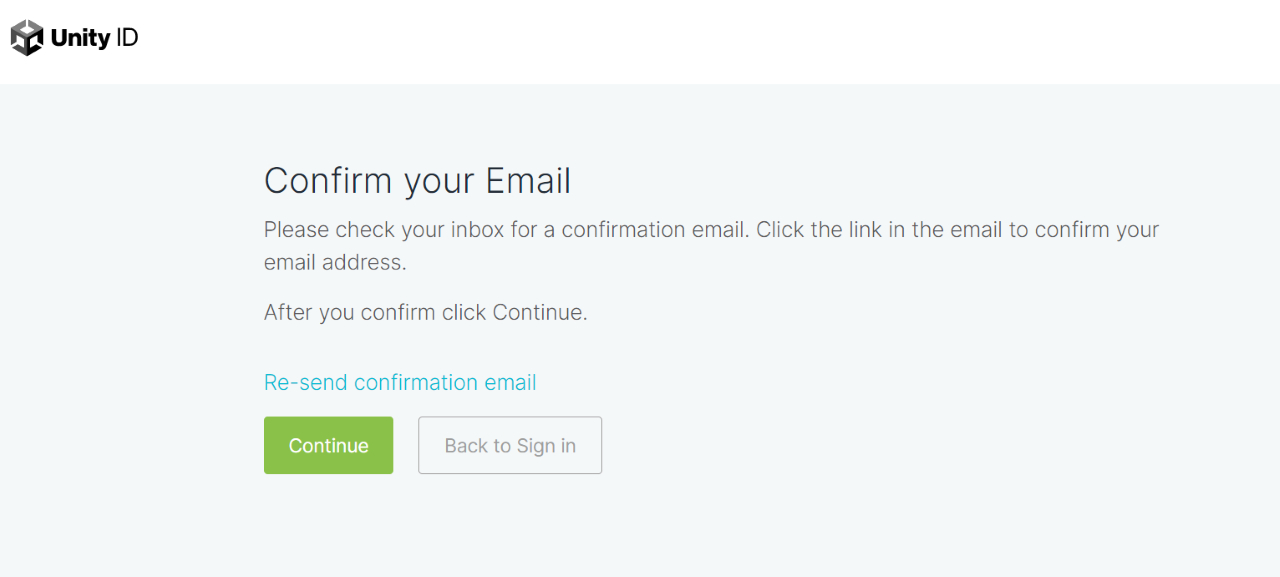
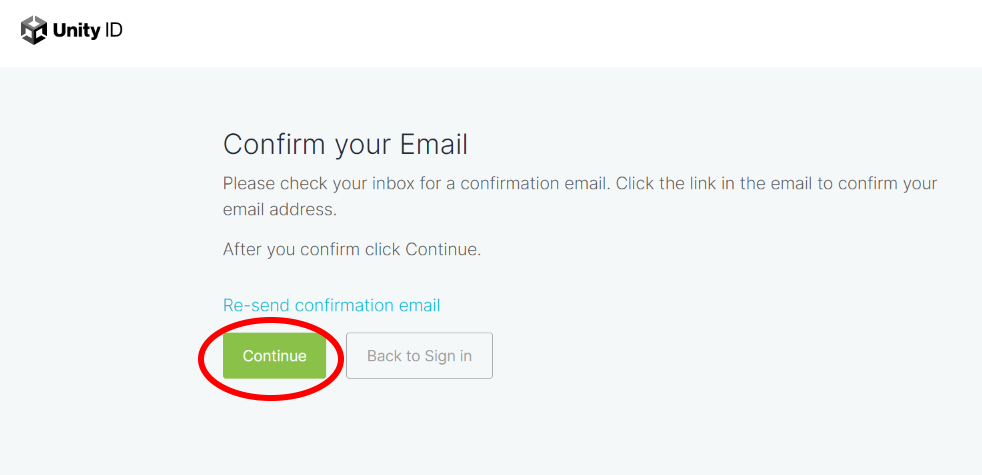
Create a Unity IDボタンをクリックしてしばらくすると画面が次のように切り替わります。
Continueボタンはメールチェックしてからクリックしますので、このままにしておきます。
Unityから届いているアカウント作成の確認メールをチェックします。
届いたメールの Link to confirm email をクリックします。
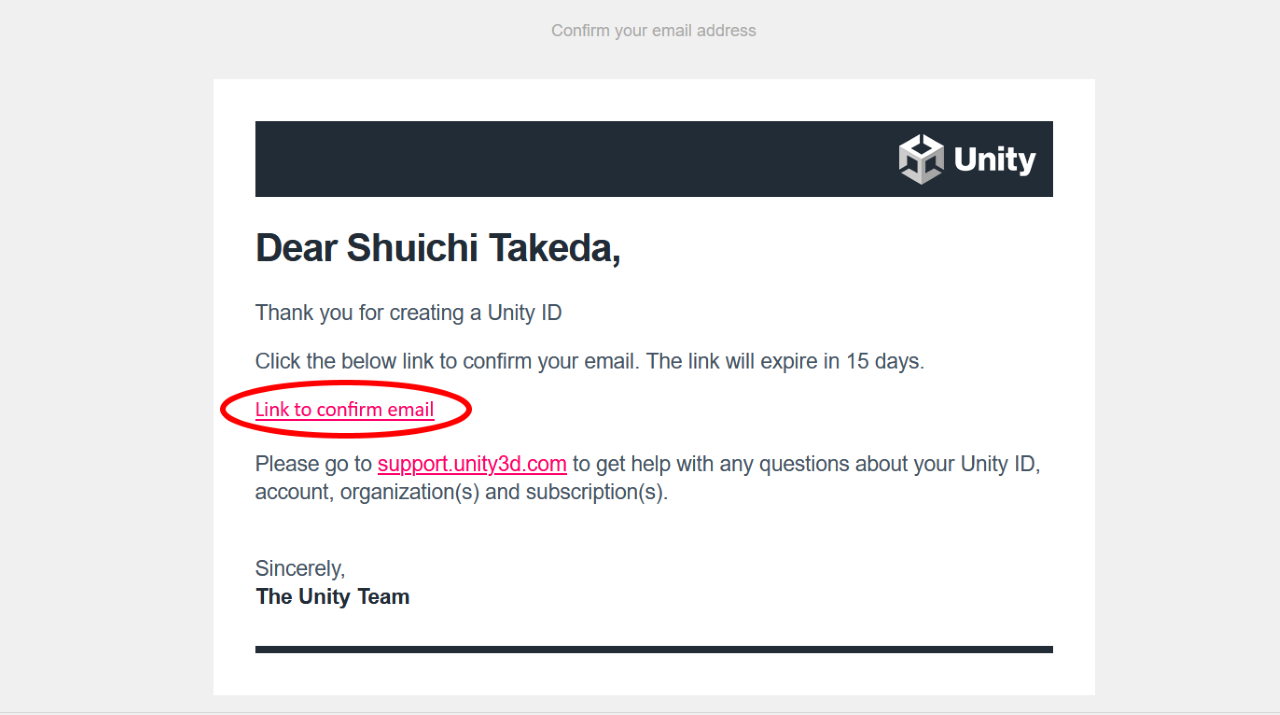
再度ブラウザが開きます。
私はロボットではありませんにチェックをしてverifyをクリックします。
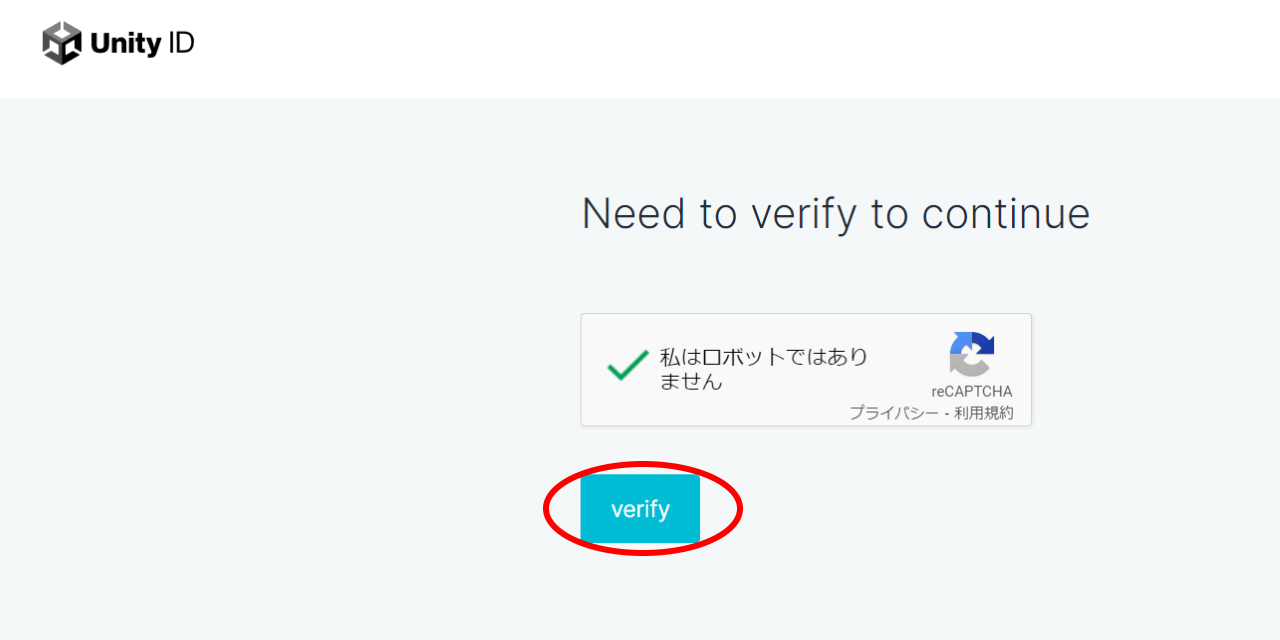
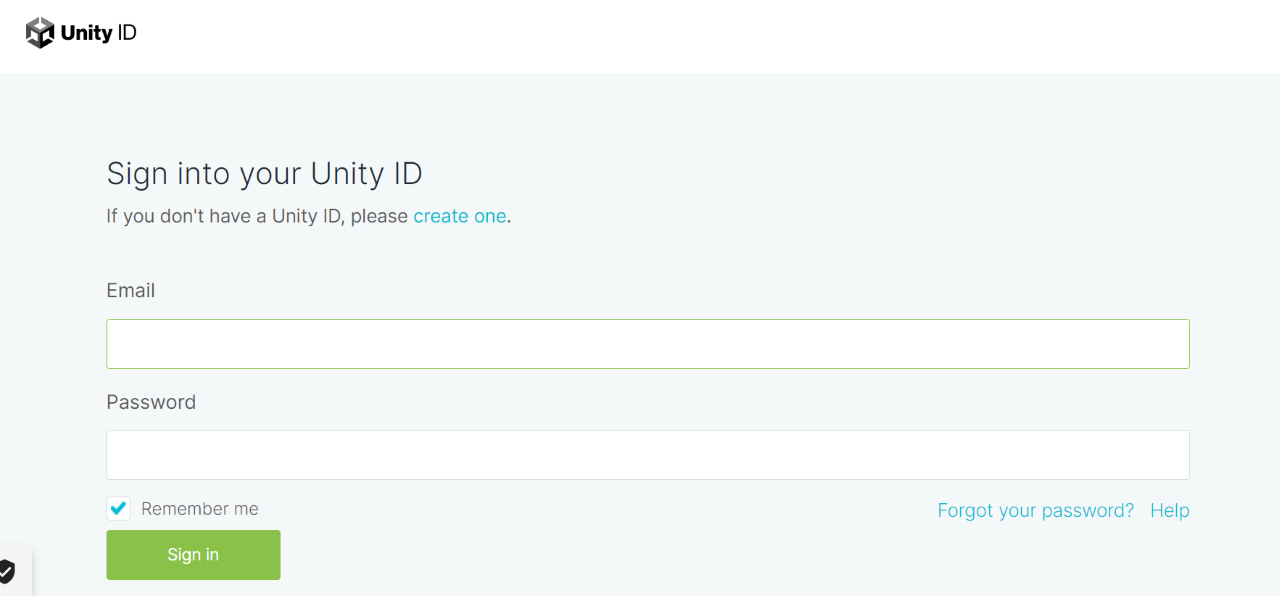
画面が切り替わりログイン画面となりますが、これはブラウザでのUnity IDログインなのでログインしなくても大丈夫です。(必要になったらログインしてください)
メールアドレスの確認が終わりましたので、先ほどそのままにしておいたConfirm your Email画面のContinueボタンをクリックします。
Unity IDの作成に関しては以上です。
Unityのインストール
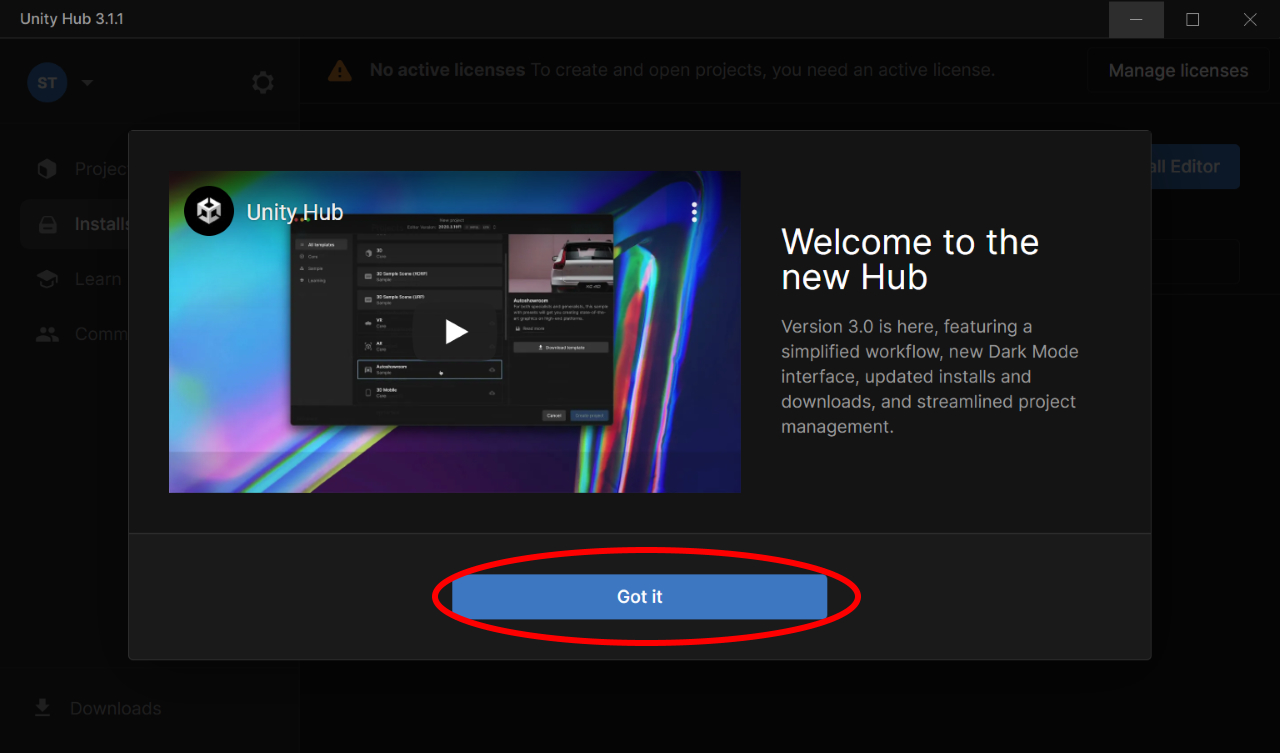
この時点でUnity Hubの画面に切り替えてみてください。
Welcome画面に表示が変わっているはずです。Got itをクリックします。
始めてインストールする場合は、推奨のUnityバージョンが表示されています。
Install Unity Editorをクリックします。
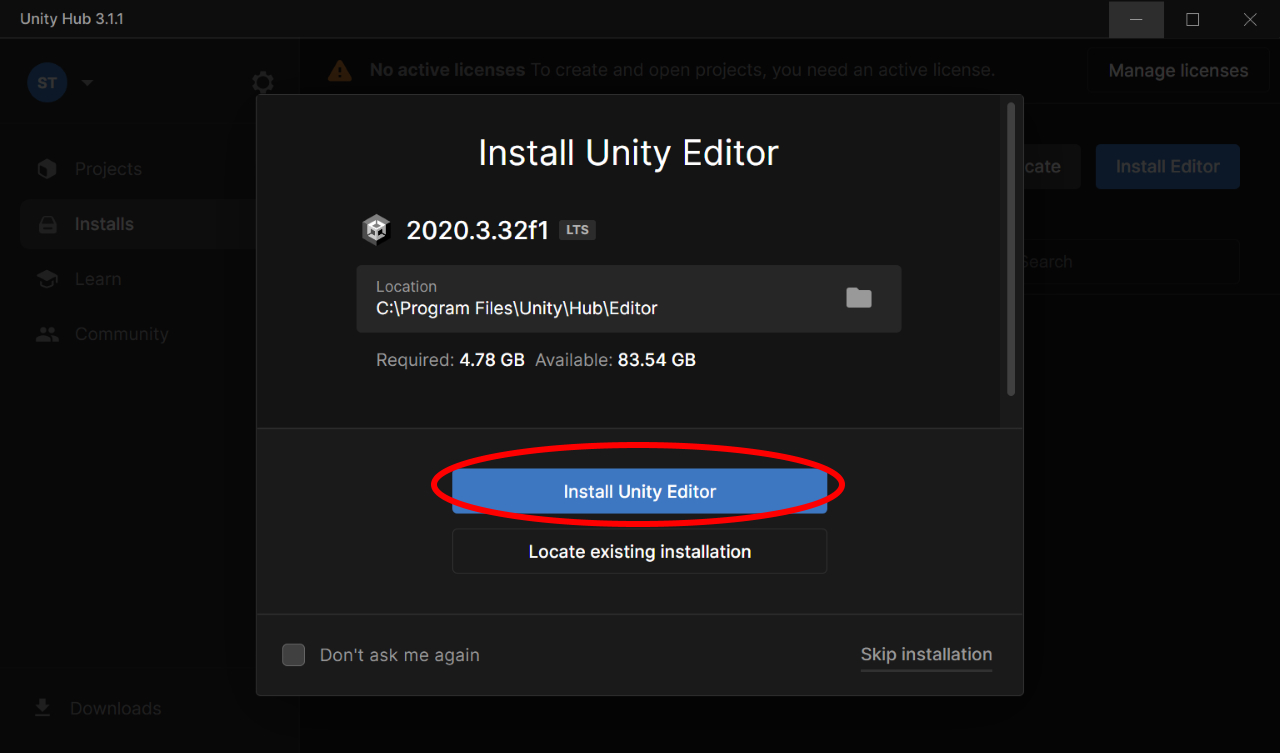
ここで表示されるUnityバージョンは、基本的にはLTS版(=長期サポート版)のUnity最新バージョンとなります。もし別のバージョンをインストールしたい場合は Skip installation でスキップします。
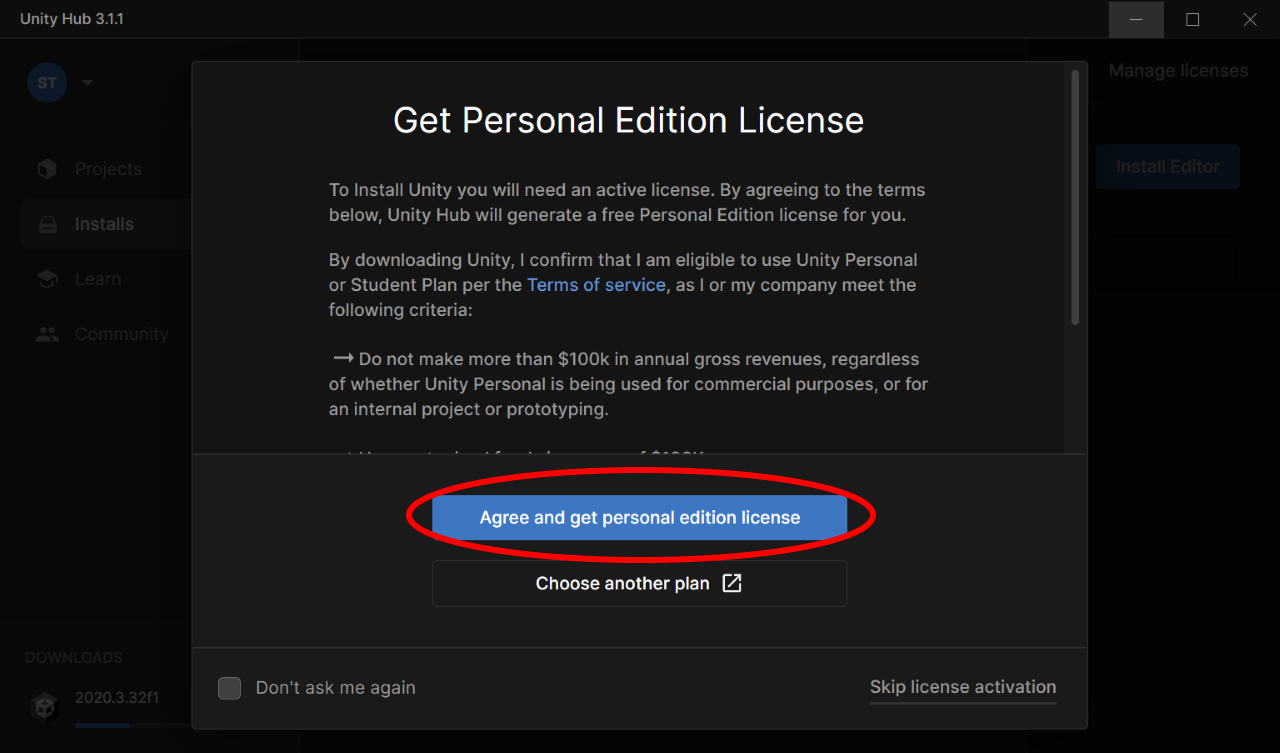
Unity無料版(Personal Edition)のアクティベーション画面です。
Agree and get personal edition licenseをクリックします。
ここからインストールが開始します。(わたしは15分くらい掛かりました)
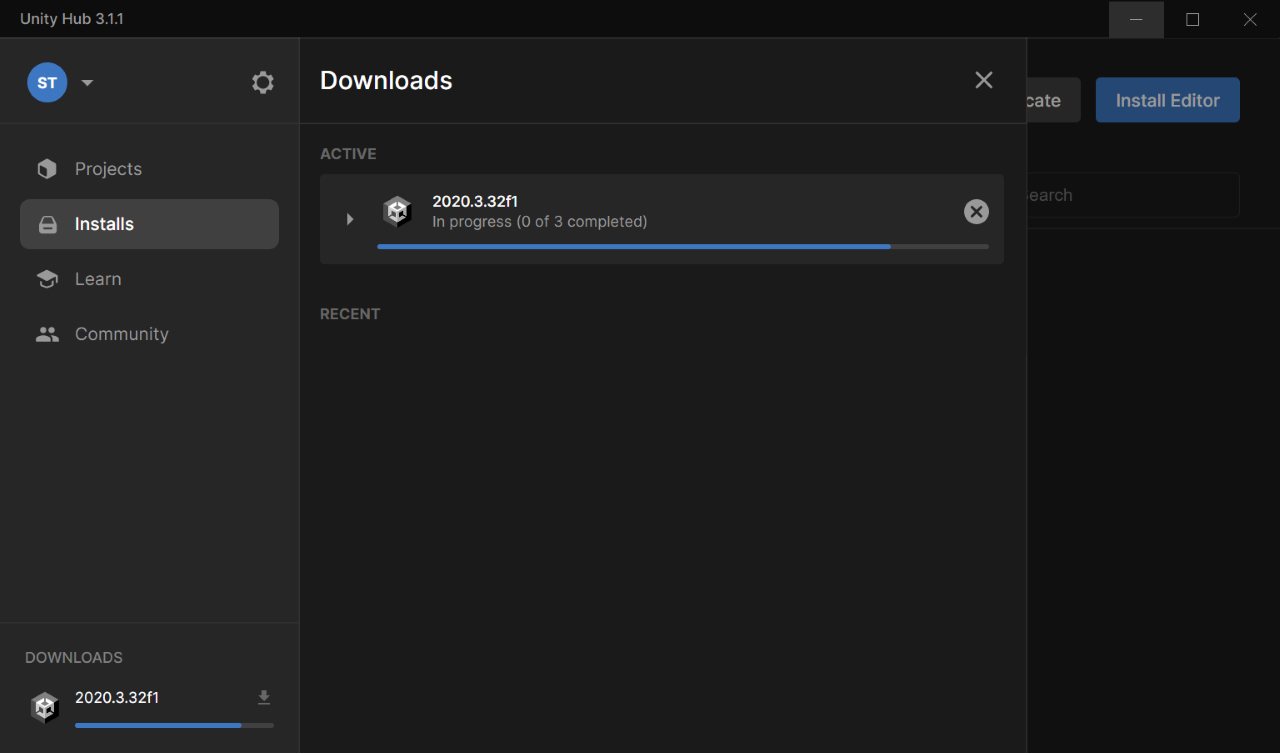
インストール完了画面
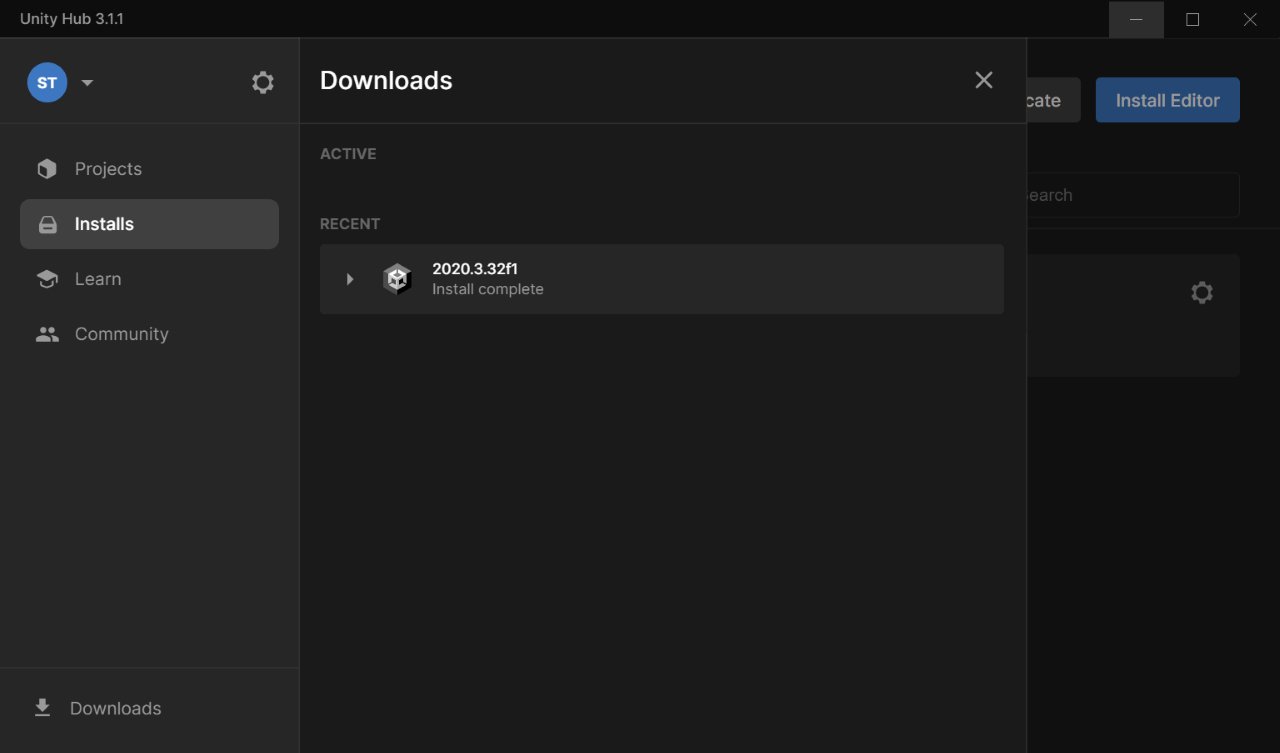
デフォルトではUnity Editor、Web GL、Documentationの3つがインストールされていました。
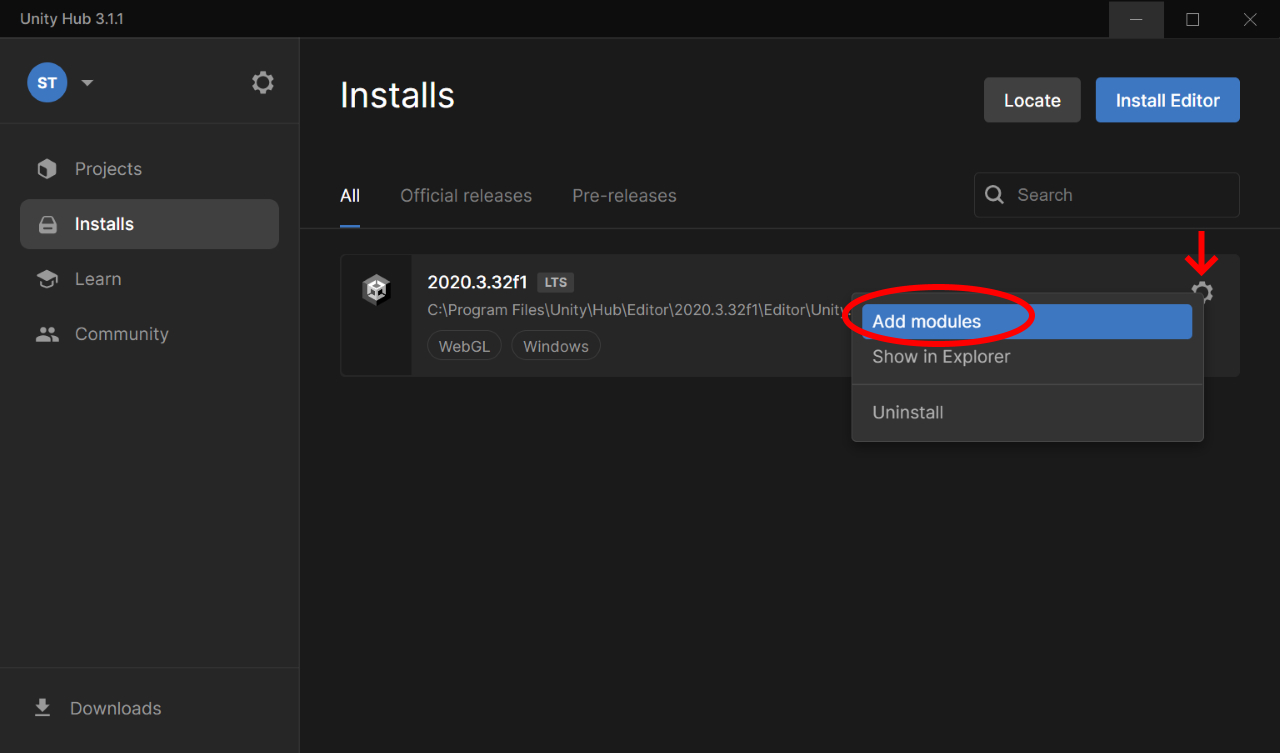
このままではC#スクリプト編集に使うプログラミング用のエディタ(Visual Studio)がインストールされていないため追加モジュールをインストールします。
Visual Studio Community 2019 のインストール
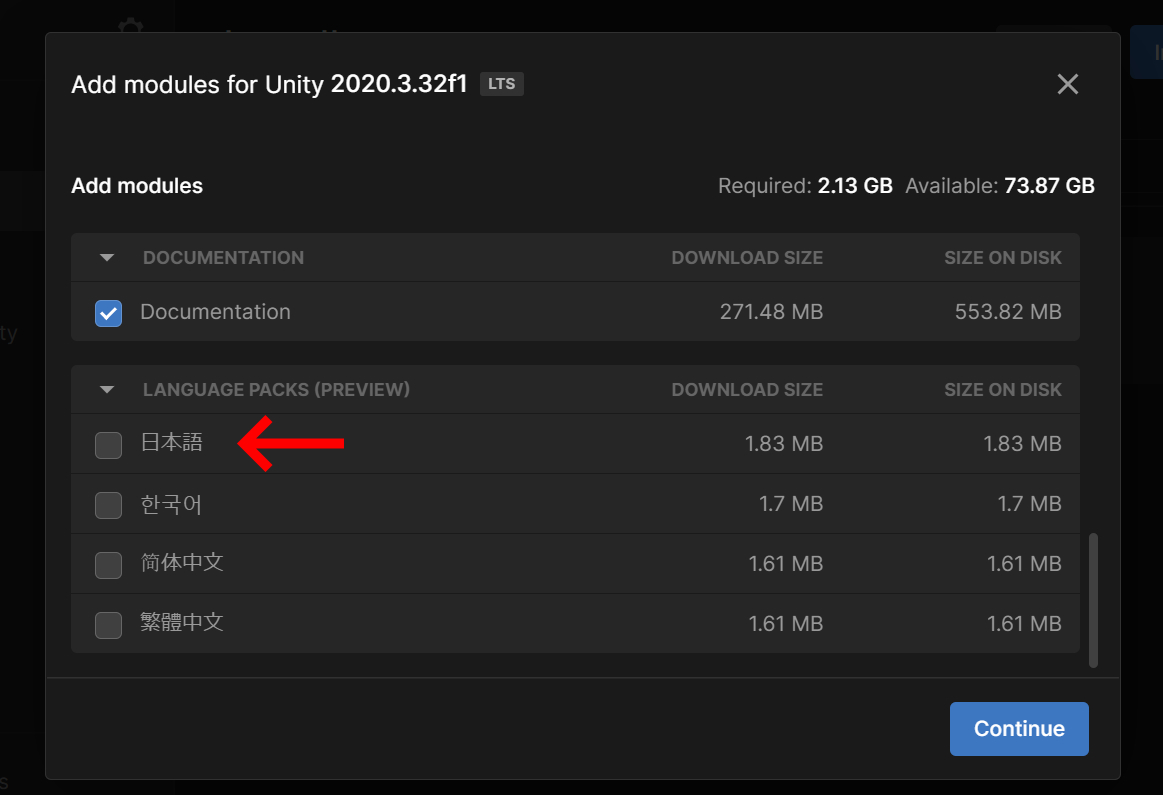
インストールされたUnityバージョンの右側にある歯車アイコンをクリックし Add modulesを選択します。
Microsoft Visual Studio Community 2019 にチェックを入れContinueをクリックします。
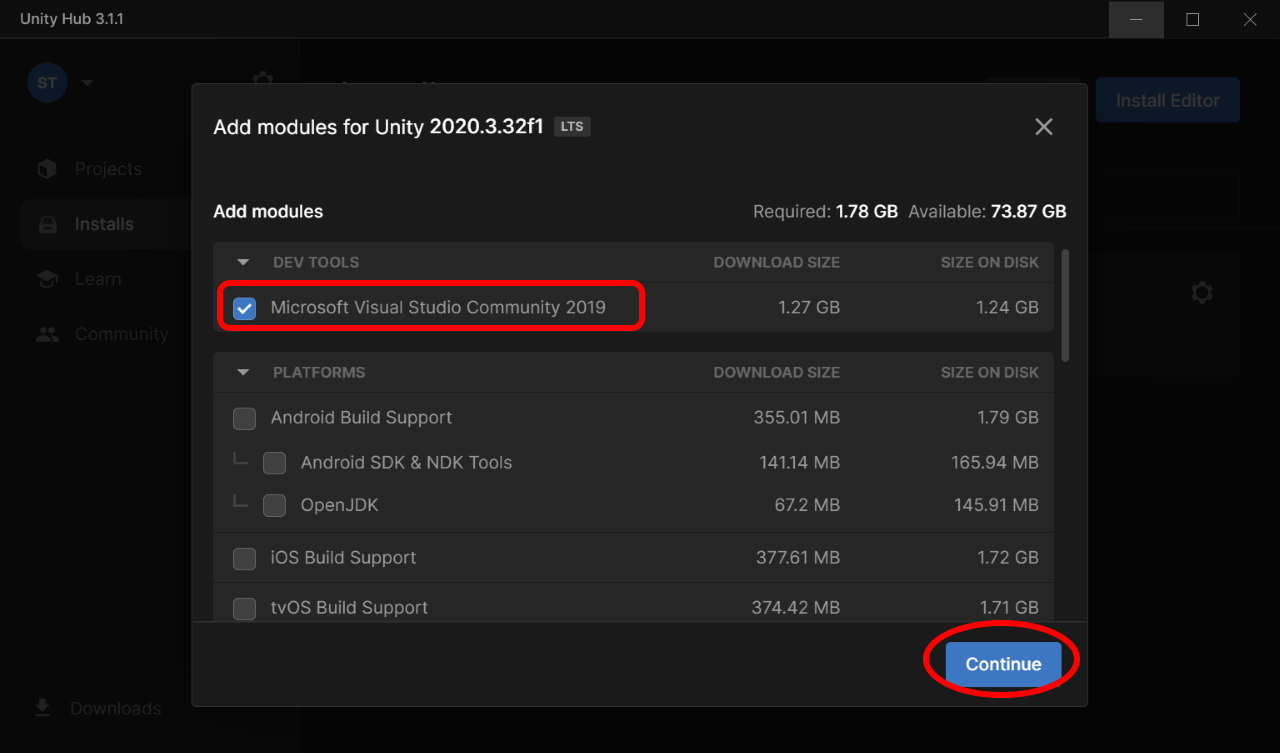
もし日本語メニューが欲しい場合はこの画面でスクロールして日本語にチェックを入れてください。(日本語メニューの翻訳は英語メニューより分かりにくいのでおすすめはしませんが…)
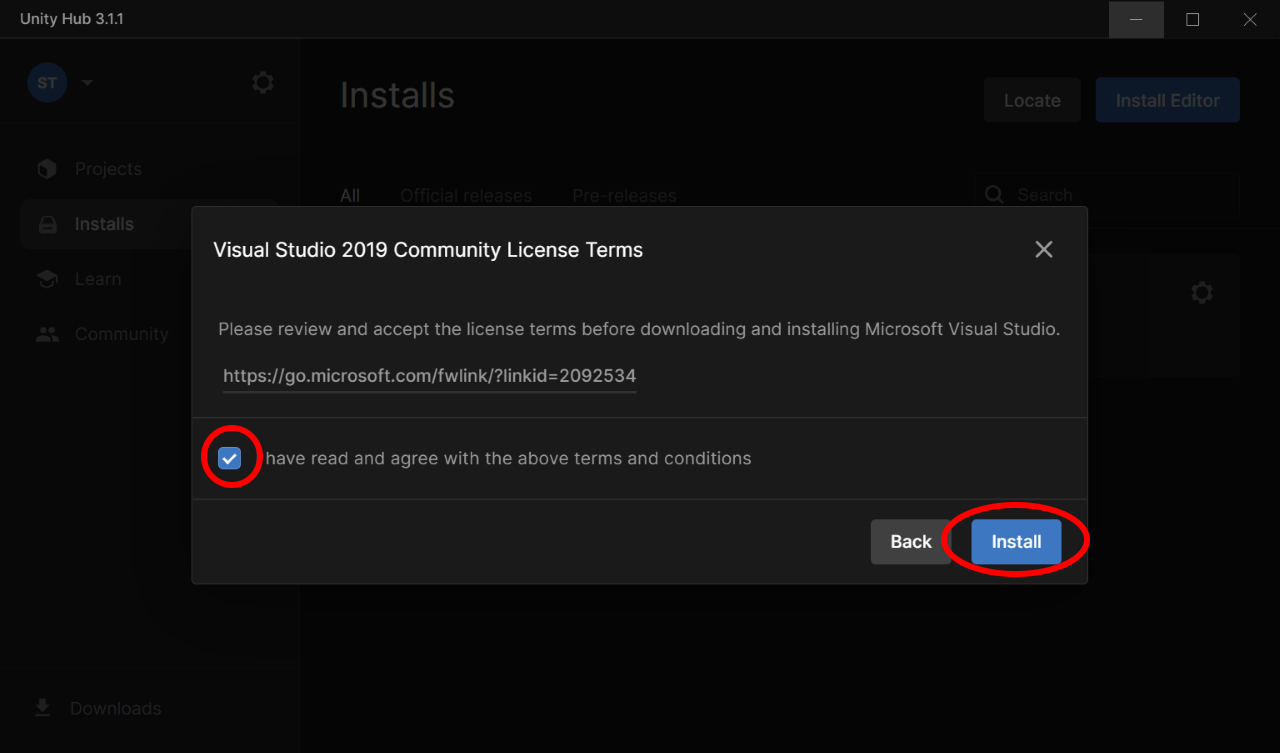
Visual Studio のライセンス契約の同意画面です。
チェックを入れてInstallをクリックします。
インストール開始直後の画面
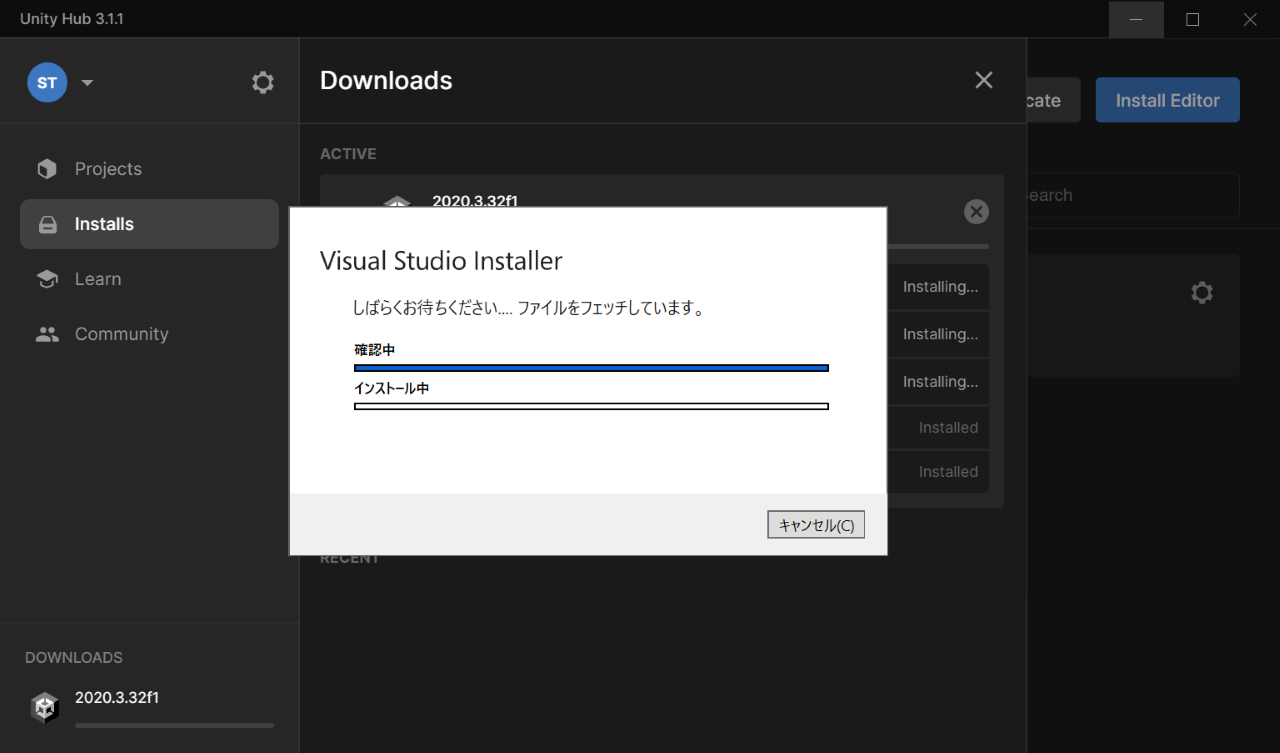
インストール中は色々と別ウインドウが開いたりしますが気にせずそのままお待ちください。(こちらも15分くらい掛かりました)
Visual Studio はUnityとは別のアプリケーションのためあまり連携がとれていません。
Unity Hubの画面ではInstalled と表示されあたかもインストール完了したかのような画面になっていますが、以下のようにVisual Studio Installer画面が表示されている最中はまだインストール中です。注意してください!!
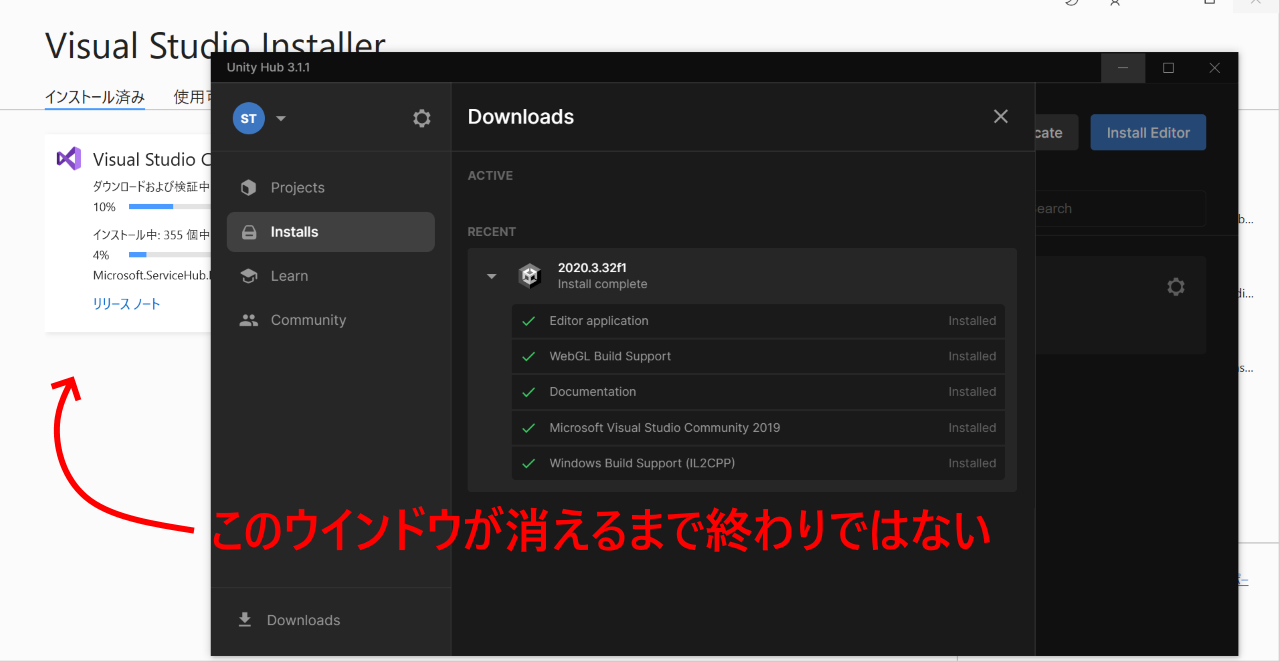
Visual Studio Installer画面が消えたらインストールは完了です。
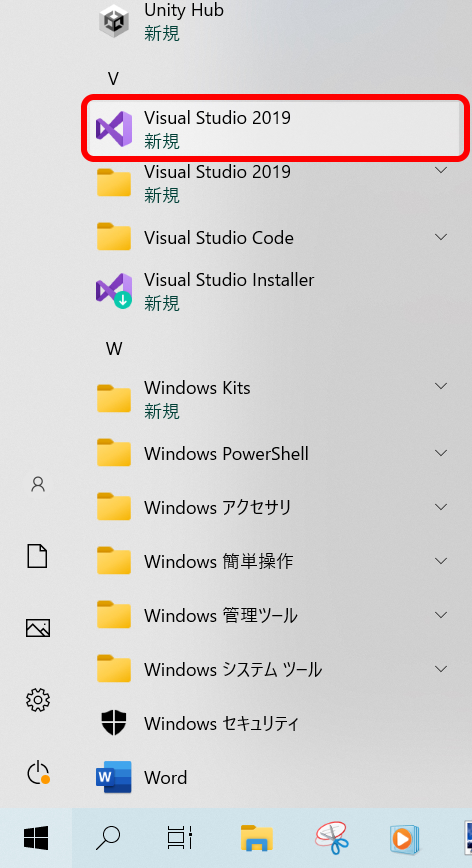
念のため、スタート > Visual Studio 2019 が登録されているか確認しましょう。
以上、Unity2022のインストール手順(2022年4月)でした。(けっこう面倒っす)
コメント